TanStack Start 在短时间内取得了长足的进步,在开发者体验、稳健性和文档方面都有所改进。在这一演进过程中,最新且最具影响力的功能之一是 Selective SSR,这是一种灵活控制应用中路由渲染方式的新方法。

传统上,SSR 框架对所有路由都采用相同的处理方式:先在服务器上渲染,然后在客户端进行 hydrate。但这种方法并不总是有效,特别是对于依赖浏览器专用 API、动态内容或缓慢数据获取的路由。这就是 Selective SSR 发挥作用的地方。
本文将详细介绍 Selective SSR 的工作原理、使用时机,以及如何构建一个真实的 TanStack Start 应用,该应用混合了服务器渲染、客户端渲染和仅数据路由,所有这些都能无缝协作。
为什么需要 Selective SSR?
SSR 框架通过首先在服务器上生成路由的 HTML 内容来渲染应用的第一个请求路由。然后将生成的 HTML 内容发送到浏览器。这种方法使得使用 SSR 框架构建的应用具有更短的加载时间或更快的首次内容绘制 (FCP)。
在将第一个请求路由的 HTML 内容发送到浏览器后,框架会使用 JavaScript 对其进行 hydrate。在后续的用户导航中,应用就像单页应用 (SPA) 一样工作。需要注意的是,当 SSR 框架对应用进行 hydrate 时,它会在浏览器上重新渲染。浏览器上的渲染必须与服务器上的渲染匹配,如果不匹配,大多数 SSR 框架会抛出错误。
传统的 SSR 框架渲染路由的方式可能不是 Web 应用每个路由的最有效策略,原因如下:
显示基于时间或随机内容的路由在服务器和客户端上会有所不同
使用浏览器专用 API(如
localStorage)的路由无法在服务器上渲染获取数据缓慢的路由最好在客户端渲染加载状态
在这些情况下,拥有更复杂的渲染策略非常重要,因为标准的 SSR 要么会抛出 hydration 不匹配错误,要么会太慢。为了避免遇到这些问题,Selective SSR 是在 SSR 应用中处理路由的一种简洁方法。
Selective SSR 是如何工作的?
TanStack Start 中的每个路由都有类似以下的结构:
export const Route = createFileRoute("/")({
  beforeLoad: ()=> beforeLoadFunc(),
  loader: ()=> loaderFunc(),
  component: RouteComponent,
  ssr: true,
});在上述路由中,beforeLoad 和 loader 用于为路由加载数据(beforeLoad 在 loader 之前运行)。component 属性接受当用户导航到该路由时要渲染的 React 组件。最后,ssr 属性用于设置路由的渲染模式。正是这个属性实现了 Selective SSR。
TanStack Start 为渲染路由提供了三种不同的模式。这些模式是将 ssr 设置为 true、"data-only" 和 false。
ssr: true此选项允许 TanStack Start 在 服务器 上运行 beforeLoad 和 Loader 函数,在服务器上渲染路由,然后在浏览器上运行这些 loader 函数并在浏览器上渲染路由。这是 SSR 框架渲染每个路由的默认方式。它确保快速加载时间和适当的 SEO。
ssr: "data-only"使用 ssr: "data-only" 模式设置路由有点独特。在这里,loader 在服务器上运行,但组件本身不在服务器上渲染。相反,数据被发送到客户端,由客户端渲染组件。
在后续导航中,这些路由 loader 将在客户端运行。这对于需要快速数据获取但组件不适合服务器渲染的情况很有用(可能是因为它们需要动态显示或使用浏览器专用 API 或函数)。
ssr: false这是 SPA 中所有路由的典型行为。在这里,loader 只在客户端运行,路由也只在客户端渲染。如果 loader 调用任何浏览器专用 API,这在 SSR 应用中很重要。
函数形式
路由的 ssr 属性也接受函数。该函数的参数是一个具有两个属性的对象:params 和 search。
这里的 params 参数是 TanStack Router 中的路径参数对象。通过它,可以访问路由中的所有动态参数。
另一方面,search 值提供对路由中 URL 查询参数的访问。它也是一个 TanStack Router 对象。使用这些参数,ssr 属性的函数值可以确定路由的渲染模式。
以下是一个示例:
export const Route = createFileRoute("/reports/$reportId")({
  validateSearch: z.object({ docView: z.boolean().optional() }),
  ssr: ({ params, search }) => {
    if (params.status === 'success' && search.status === 'success') {
      return search.value.docView ? true : 'data-only'
    }
  },
  beforeLoad: ()=> {
    console.log("Run beforeLoad function")
  },
  loader: () => {
    console.log("Run loader function")
  },
  component: ReportComponent,
});
继承
选择性渲染有一个顺序或层次结构。设置路由时,根路由的默认 ssr 值是 true。这也是其所有子路由继承的值。
现在,这个值只能更改为更严格的值。以下是从最严格到最不严格的渲染模式排名:
ssr: true > ssr: 'data-only' > ssr: false继承 ssr: true 的路由只能更改为 data-only 或 false,继承 ssr: 'data-only' 的路由只能更改为 false。即使子路由的 ssr 属性设置为限制较少的模式,TanStack Start 也会覆盖它:
root { ssr: true } // 根路由
  child { ssr: false } // 路由设置为 `false`
    grandchild { ssr: 'data-only' } // 在继承 `false` 后不能使用 `"data-only"`,所以 TanStack 将使用 `false`
使用 Selective SSR 构建项目
本节是一个教程,演示如何使用 Selective SSR 构建 TanStack Start 项目。示例项目是一个笔记应用,它以不同方式渲染其路由。项目的最终源代码可以在 GitHub 上找到。
本指南使用 “start-basic” 模板引导 TanStack Start。
打开终端下载模板并将项目文件夹命名为 selective-ssr:
npx gitpick TanStack/router/tree/main/examples/react/start-basic selective-ssr
cd selective-ssr
npm install
npm run dev
下载框架模板并启动开发服务器后,清理项目文件夹,只保留与本教程相关的文件:
删除
/utils文件夹中的所有文件删除
/routes目录中的所有文件和文件夹,只保留/__root.tsx。该根路由是目前唯一相关的文件最后,删除
/public文件夹中除/favicon.ico文件之外的所有内容
接下来,配置应用的路由器,将 defaultSsr 设置为 true,并设置 defaultErrorComponent 和 defaultNotFoundComponent:
// /src/router.tsx
import { createRouter as createTanStackRouter } from "@tanstack/react-router";
import { routeTree } from "./routeTree.gen";
import { DefaultCatchBoundary } from "./components/DefaultCatchBoundary";
import { NotFound } from "./components/NotFound";

export function createRouter() {
  const router = createTanStackRouter({
    routeTree,
    defaultPreload: "intent",
    defaultErrorComponent: DefaultCatchBoundary,
    defaultNotFoundComponent: () => <NotFound />,
    scrollRestoration: true,
    defaultSsr: true,
  });
  return router;
}
declare module "@tanstack/react-router" {
  interface Register {
    router: ReturnType<typeof createRouter>;
  }
}
现在,这个项目的名称是 “Noteland”。在 /__root.tsx 路由中,添加 HTML <head> 内容以及路由的页面内容。请记住,TanStack Start 中的根路由将始终匹配,这意味着其内容将始终显示。
将以下内容添加到根路由:
/// <reference types="vite/client" />
import {
  HeadContent,
  Link,
  Scripts,
  createRootRoute,
} from "@tanstack/react-router";
import { TanStackRouterDevtools } from "@tanstack/react-router-devtools";
import * as React from "react";
import { DefaultCatchBoundary } from "~/components/DefaultCatchBoundary";
import { NotFound } from "~/components/NotFound";
import appCss from "~/styles/app.css?url";

export const Route = createRootRoute({
  head: () => ({
    meta: [
      {
        charSet: "utf-8",
      },
      {
        name: "viewport",
        content: "width=device-width, initial-scale=1",
      },
      { title: "Noteland" },
      {
        name: "description",
        content: "An app with a very original idea",
      },
    ],
    links: [
      { rel: "stylesheet", href: appCss },
      { rel: "icon", href: "/favicon.ico" },
    ],
  }),
  errorComponent: DefaultCatchBoundary,
  notFoundComponent: () => <NotFound />,
  shellComponent: RootDocument,
  ssr: true,
});

function RootDocument({ children }: { children: React.ReactNode }) {
  return (
    <html>
      <head>
        <HeadContent />
      </head>
      <body>
        <header className='w-full px-4 py-3 border-b'>
          <div className='max-w-4xl mx-auto flex items-center justify-between'>
            <h1 className='text-lg font-semibold'>
              <Link to='/'>Noteland</Link>
            </h1>
            <Link
              to='/notes/$noteId'
              params={{ noteId: "new" }}
              className='px-4 py-2 bg-gray-900 text-white rounded-md hover:bg-gray-800 transition'
            >
              Add note
            </Link>
          </div>
        </header>
        {children}
        <TanStackRouterDevtools position='bottom-right' />
        <Scripts />
      </body>
    </html>
  );
}
由于这不会是一个非常复杂的应用,只设置浅色模式样式。打开 /styles/app.css 文件并为应用添加简单而最小的样式:
@tailwind base;
@tailwind components;
@tailwind utilities;
@layer base {
html {
color-scheme: only light;
}
* {
/* border: 1px solid red; */
}
html,
body {
@apply text-gray-900 bg-gray-50;
}
.using-mouse * {
outline: none !important;
}
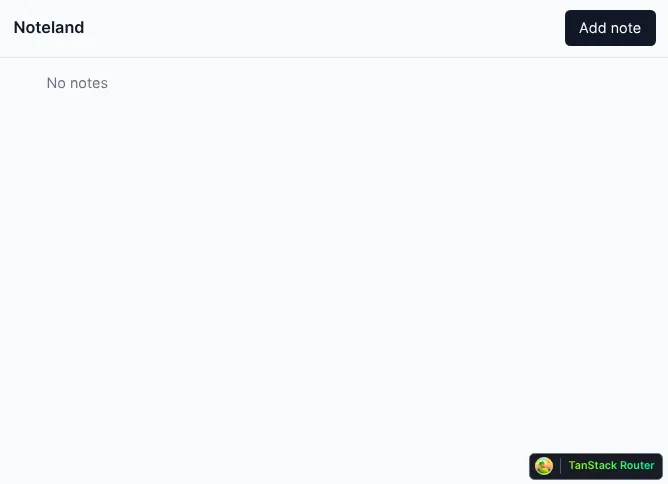
}现在应用看起来是这样的:

接下来,创建一些服务器函数来处理数据请求。我们需要三个函数:fetchNotes、fetchNoteById 和 updateNote。在 /utils/notes.tsx 文件中创建这些函数:
import { notFound } from "@tanstack/react-router";
import { createServerFn } from "@tanstack/react-start";

export interface Note {
  id: number;
  title: string;
  note: string;
  created: string;
}

const notes: Note[] = [];

export const fetchNoteById = createServerFn()
  .validator((noteId: number) => noteId)
  .handler(({ data }) => {
    const storedNote = notes[data - 1];
    if (storedNote) return storedNote;
    throw notFound();
  });

export const fetchNotes = createServerFn().handler(() => {
  const reversedNotes = [...notes].reverse();
  return reversedNotes;
});

export const updateNote = createServerFn({
  method: "POST",
  response: "data",
})
  .validator((note) => {
    if (!(note instanceof FormData)) throw new Error("Invalid form data");
    let noteId = note.get("noteId");
    let title = note.get("title");
    let noteText = note.get("note");
    if (!title || !noteText)
      throw new Error("Note must have title and content");
    return {
      id: noteId ? Number(noteId) : undefined,
      title: title.toString(),
      note: noteText.toString(),
    };
  })
  .handler(({ data: { title, note, id } }) => {
    if (id) {
      let storedNote = notes[id - 1];
      notes[id - 1] = { ...storedNote, ...{ title, note } };
      return notes[id - 1];
    }
    let inputNote: Note = {
      id: notes.length + 1,
      title,
      note,
      created: new Date().toISOString(),
    };
    notes.push(inputNote);
    return inputNote;
  });
fetchNotes 是一个获取应用中存储的所有笔记的函数。对于这个项目,笔记存储在 notes 数组中,当服务器重启时数据不会持久化。
fetchNoteById 获取与传递给函数的值具有相同 id 的笔记。如果不存在具有该 id 的笔记,函数会抛出 notFound()。notFound() 是 TanStack Router 中的内置函数,当在路由 loader 中抛出时,将显示路由配置的 notFoundComponent 或路由器的 defaultNotFoundComponent。
updateNote 是一个服务器函数,它接受来自客户端的 FormData 并将该数据保存到 notes 数组,或更新数组中的现有笔记。
接下来,创建 /index.tsx 路由。此路由是 /__root.tsx 的索引路由。请记住,虽然 /__root.tsx 路由在应用的每个页面上都匹配,但 /index.tsx 路由只作为主页,并在必要时为其他路由卸载。
还要注意,/__root.tsx(/index.tsx 路由的父级)被配置为具有 ssr 值 true,这意味着 /index.tsx 将继承该值,除非明确更改为更严格的值。
对于 /index.tsx 路由,将 ssr 值设置为 "data-only",因为我们只需要来自服务器的数据,但不想在浏览器上渲染路由:
// /src/routes/index.tsx
import { createFileRoute, Link } from "@tanstack/react-router";
import { fetchNotes } from "~/utils/notes";
export const Route = createFileRoute("/")({
component: NotesComponent,
ssr: "data-only",
loader: () => fetchNotes(),
});
function NotesComponent() {
const notes = Route.useLoaderData();
return (
<div className='max-w-2xl mx-auto p-4'>
{!notes.length ? (
<p className='text-gray-500'>No notes</p>
) : (
<ul className='space-y-4'>
{notes.map((n) => (
<li key={n.id}>
<Link
to='/notes/$noteId'
params={{ noteId: n.id }}
className='border p-3 block rounded shadow-sm bg-white hover:shadow-md'
>
<h2 className='font-semibold'>{n.title}</h2>
<p className='text-sm text-gray-600'>
{n.note}
</p>
<p className='mt-2 text-xs text-gray-400'>
Created:{" "}
{new Date(n.created).toLocaleString()}
</p>
</Link>
</li>
))}
</ul>
)}
</div>
);
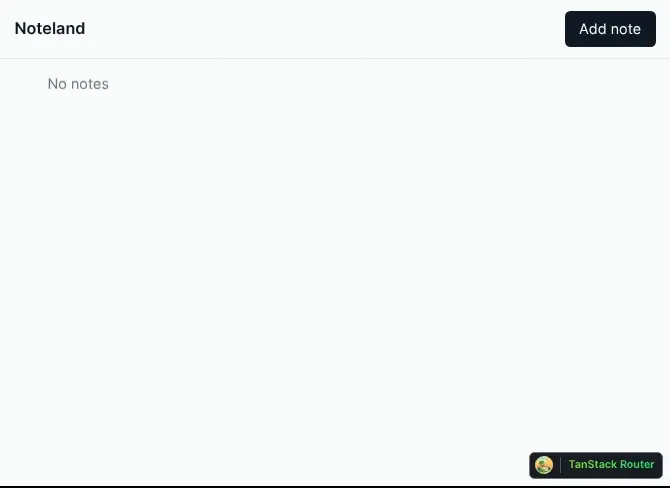
}现在加载页面应该显示所有笔记,但由于还没有向应用添加笔记,所以你会看到这样:
接下来,创建用户可以向应用添加笔记的页面。添加新笔记时此路由的 URL 是 /notes/new,编辑现有路由时是 /notes/${noteId}。
此路由不会在服务器上渲染;相反,它将仅在客户端浏览器上渲染。这是因为路由的 loader 从 window.localStorage 获取数据。它需要这样做,因为应用在用户将数据保存到服务器之前,会在 localStorage 中离线保存用户输入。
前端保存用户输入,这样即使用户还没有将数据保存到服务器,他们也不会丢失数据。打开 /routes/notes.$noteId.tsx 文件并添加以下内容:
import { createFileRoute, useNavigate } from "@tanstack/react-router";
import { useEffect, useState } from "react";
import { fetchNoteById, updateNote } from "~/utils/notes";
interface Draft {
id?: number;
title?: string;
note?: string;
}
const LOCAL_STORAGE_KEY = "draft_note";
const fetchLocalStorage = (): Draft => {
const raw = localStorage.getItem(LOCAL_STORAGE_KEY);
const localState = raw ? JSON.parse(raw) : {};
return localState;
};
const updateLocalStorage = (update: Draft | null) => {
localStorage.setItem(LOCAL_STORAGE_KEY, JSON.stringify(update ?? {}));
};
export const Route = createFileRoute("/notes/$noteId")({
params: {
parse: ({ noteId }) => {
if (noteId === ("new" as const)) {
return { noteId };
} else if (!isNaN(+noteId)) {
return { noteId: +noteId };
}
throw new Error("Invalid Path");
},
},
loader: async ({ params: { noteId } }) => {
if (noteId === "new") {
return fetchLocalStorage();
}
const { id, title, note } = await fetchNoteById({ data: noteId });
return { id, title, note };
},
component: RouteComponent,
ssr: false,
});
function RouteComponent() {
const navigate = useNavigate();
const fetchedNote = Route.useLoaderData();
const [formValues, setFormValues] = useState(fetchedNote);
useEffect(() => {
setFormValues(fetchedNote);
}, [fetchedNote]);
const handleInputChange = (
event: React.FormEvent<HTMLInputElement | HTMLTextAreaElement>
) => {
const { name, value } = event.currentTarget;
setFormValues((prevState) => {
const nextState = { ...prevState, [name]: value };
if (!fetchedNote?.id) updateLocalStorage(nextState);
return nextState;
});
};
return (
<form
onSubmit={async (event) => {
event.preventDefault();
const formData = new FormData(event.currentTarget);
formData.append("noteId", fetchedNote?.id?.toString() || "");
await updateNote({ data: formData });
updateLocalStorage(null);
return navigate({ to: "/" });
}}
method='post'
>
<div className='max-w-2xl mx-auto p-4 space-y-4'>
<input
type='text'
name='title'
placeholder='Untitled note'
required
value={formValues.title || ""}
onChange={handleInputChange}
className='w-full text-2xl font-bold p-2 border border-gray-300 rounded focus:outline-none focus:ring'
/>
<textarea
name='note'
placeholder='Start typing your note...'
required
value={formValues.note || ""}
onChange={handleInputChange}
className='w-full h-40 p-2 border border-gray-300 rounded focus:outline-none focus:ring'
/>
<button
type='submit'
className='px-4 py-2 bg-blue-600 text-white rounded hover:bg-blue-700'
>
Save
</button>
</div>
</form>
);
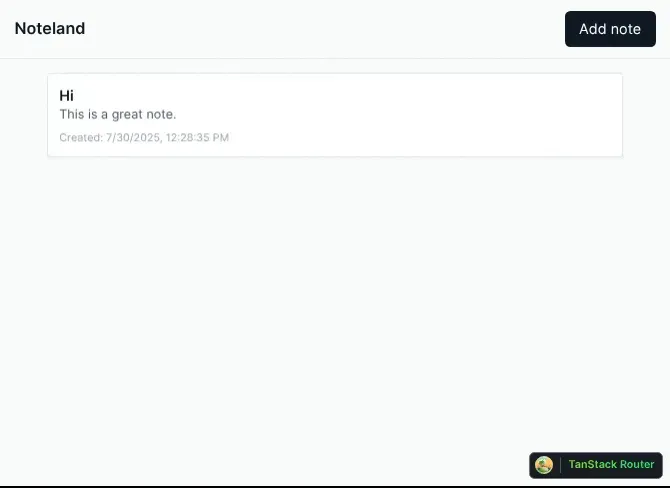
}有了这个,现在可以在应用中创建新笔记:
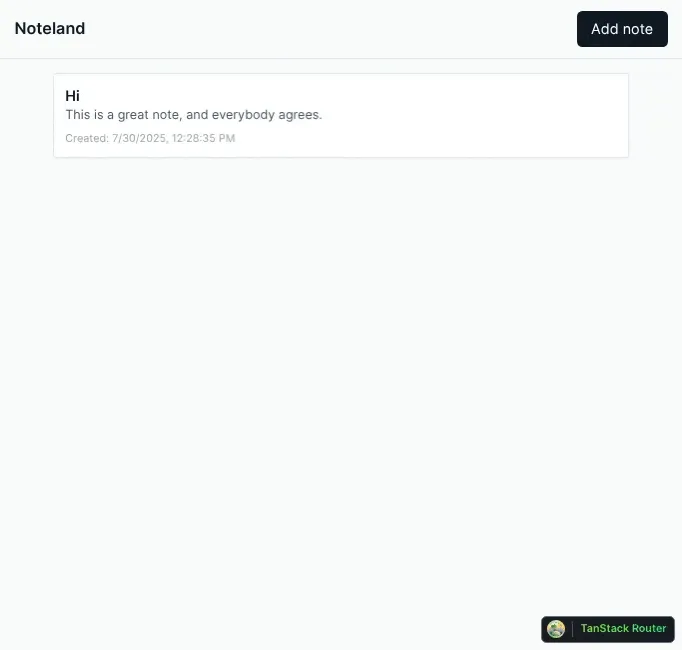
也可以编辑创建的笔记:
最后,用户输入保存在 localStorage 中,这样用户即使在页面刷新后也能访问数据:
将 TanStack Start 的 Selective SSR 与其他框架进行比较
本节将探讨其他框架如何实现相同或类似的功能。要与 TanStack Start 比较的框架是 Next.js 和 React Router(以前称为 Remix),因为它们目前是最受欢迎的替代 React SSR 框架。
Next.js
Next.js 默认将其所有组件渲染为 React Server Components。需要交互性或浏览器专用 API 的组件被渲染为客户端组件。
但是,这与 Selective SSR 提供的功能不同。Selective SSR 是一个允许配置框架渲染路由位置的功能。在 Next.js 中,客户端组件和 React Server Components 都在某种形式上在服务器上渲染,然后发送到浏览器进行 hydration。
Next.js 有一个目前处于实验阶段的功能叫做部分预渲染 (PPR)。此功能使 Next.js 应用能够为请求的路由发送静态外壳。外壳有一个插槽,动态内容可能需要额外时间加载,最终会在那里渲染。这样,路由的动态部分根本不在服务器上渲染。
除此之外,Next.js 没有其他类似 Selective SSR 的功能。
React Router
React Router 以三种不同模式工作:声明式、数据和框架。数据模式类似于 "data-only" 模式,因为它只关心为路由获取数据。但是,在 React Router 的数据模式中,数据在客户端加载,不涉及 SSR。
在 React Router 的框架模式中,在设置项目配置时,可以将 ssr 的值设置为 true 或 false。这类似于 TanStack Start 中的 defaultSsr 设置。但是,在 React Router 中,不能为后代路由更改此 ssr 值。
React Router 没有任何功能可以密切复制 TanStack 的 Selective SSR 所做的事情。
总结
TanStack Start 是一个用于构建全栈 Web 应用的可靠框架,它添加了 Selective SSR 功能,进一步为开发者提供了更多在应用中渲染布局的选项。Selective SSR 对于为路由选择适当的渲染模式很有用,无论它们显示什么以及加载需要多长时间。
本文重点介绍了 Selective SSR 有用的情况,解释了 Selective SSR 的工作原理,提供了使用 Selective SSR 构建全栈项目的教程,最后将该功能与其他框架的类似功能进行了比较。